Menu
Menu
Latest stories
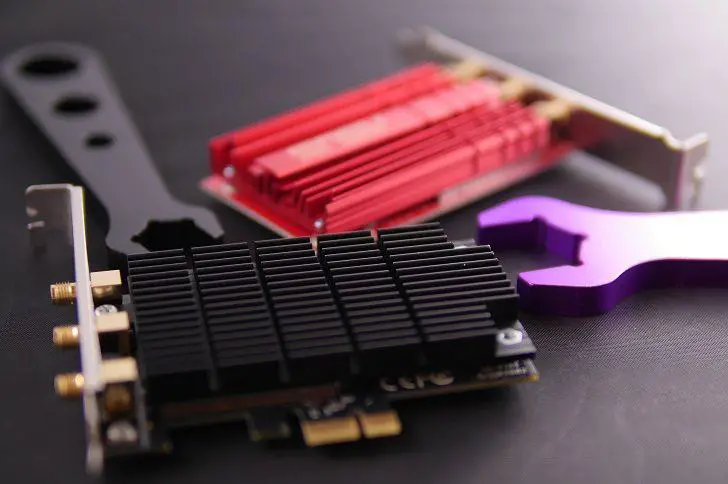
TP-Link Archer T9E AC1900 Review
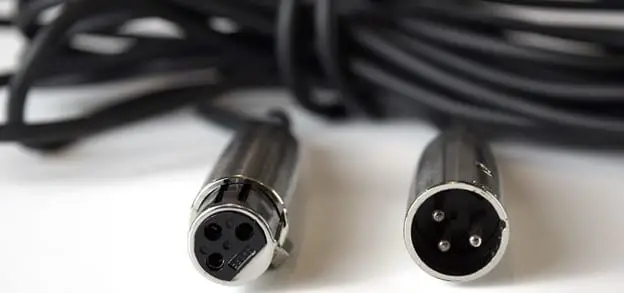
Best XLR Cables Review
More stories
in
Reviews
Brisant Secure Smart Lock Review
in
Reviews
FurniQi Wireless Charging Sidetable Review
in
Reviews
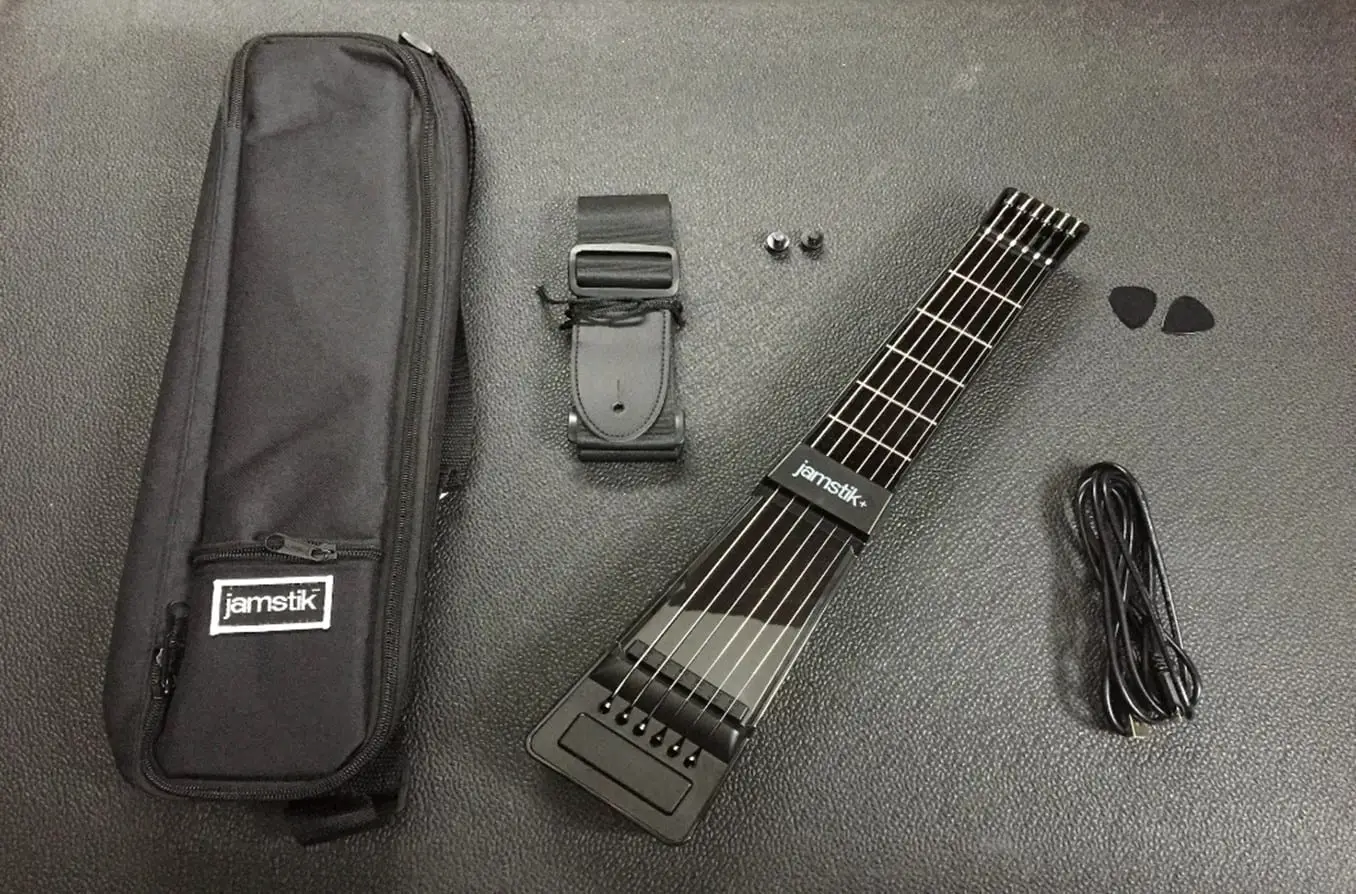
Jamstik+ MIDI Guitar Controller Review
in
Reviews
Laurastar Smart U Ironing System Review
in
Reviews
Motiv Ring Review
in
Reviews
SoundAsleep Bluetooth Pillow Review
in
Reviews
Intel Core i7 8700k vs 9700k Review
in
Reviews
Best 4k Video Camera Review In 2020
in
Reviews
Best 32 Inch Led TV Review In 2020
in
Reviews
Best Automatic Hair Steam Curler Review In 2020
Load More
Congratulations. You've reached the end of the internet.
Back to Top
Close
Tech
Lifestyle